A QR menu needs two things: a public menu page and a QR code that opens that page. GetFreeMenu provides both. Start with a small, accurate menu, check it on a phone, then put the code where guests can use it. This guide follows the product's setup flow; the sample dishes below are examples, not a customer case study.
1. Create and verify your account
Create a free account and complete the email verification step if requested. If the verification email is missing, check spam and use the resend option on the verification screen. Return to the dashboard after verification. The core QR menu is free; you do not need to buy Pro to publish your first menu.
2. Create your restaurant
Add the restaurant name and choose the currency you actually charge. Check the spelling because guests will see it on the public menu. Use one restaurant record for the venue you are setting up. Check the current plan limits before adding more locations.
3. Add a small first menu
Create categories such as Coffee, Tea and Bakery. Add a name, price and useful description for each item. A photo is helpful when it represents the dish you serve; do not use a sample photo as if it were your own food. Save each item and check availability before moving on.
| Category | Example item | Example price | Description to adapt |
|---|---|---|---|
| Coffee | Iced latte | THB 75 | Espresso with milk, served over ice |
| Tea | Iced black tea | THB 55 | Black tea over ice; ask about sweetness |
| Bakery | Butter croissant | THB 65 | A flaky butter pastry |
These are illustrative prices, not pricing recommendations. Replace names, portions, ingredients and currency with your restaurant's details. If you already have a printed menu, use the paper-to-online checklist to avoid copying outdated prices.
4. Preview as a guest
Open the public-menu preview from the dashboard. Check category order, currency, decimal places, spelling and images on a phone. If you add translations, read each supported version and correct dish names or ingredient descriptions before sharing. The menu translation guide explains what to review.
An owner preview checks presentation. It is different from a real diner opening your menu, so do not treat your own preview activity as customer demand.
5. Download, print and test the QR code
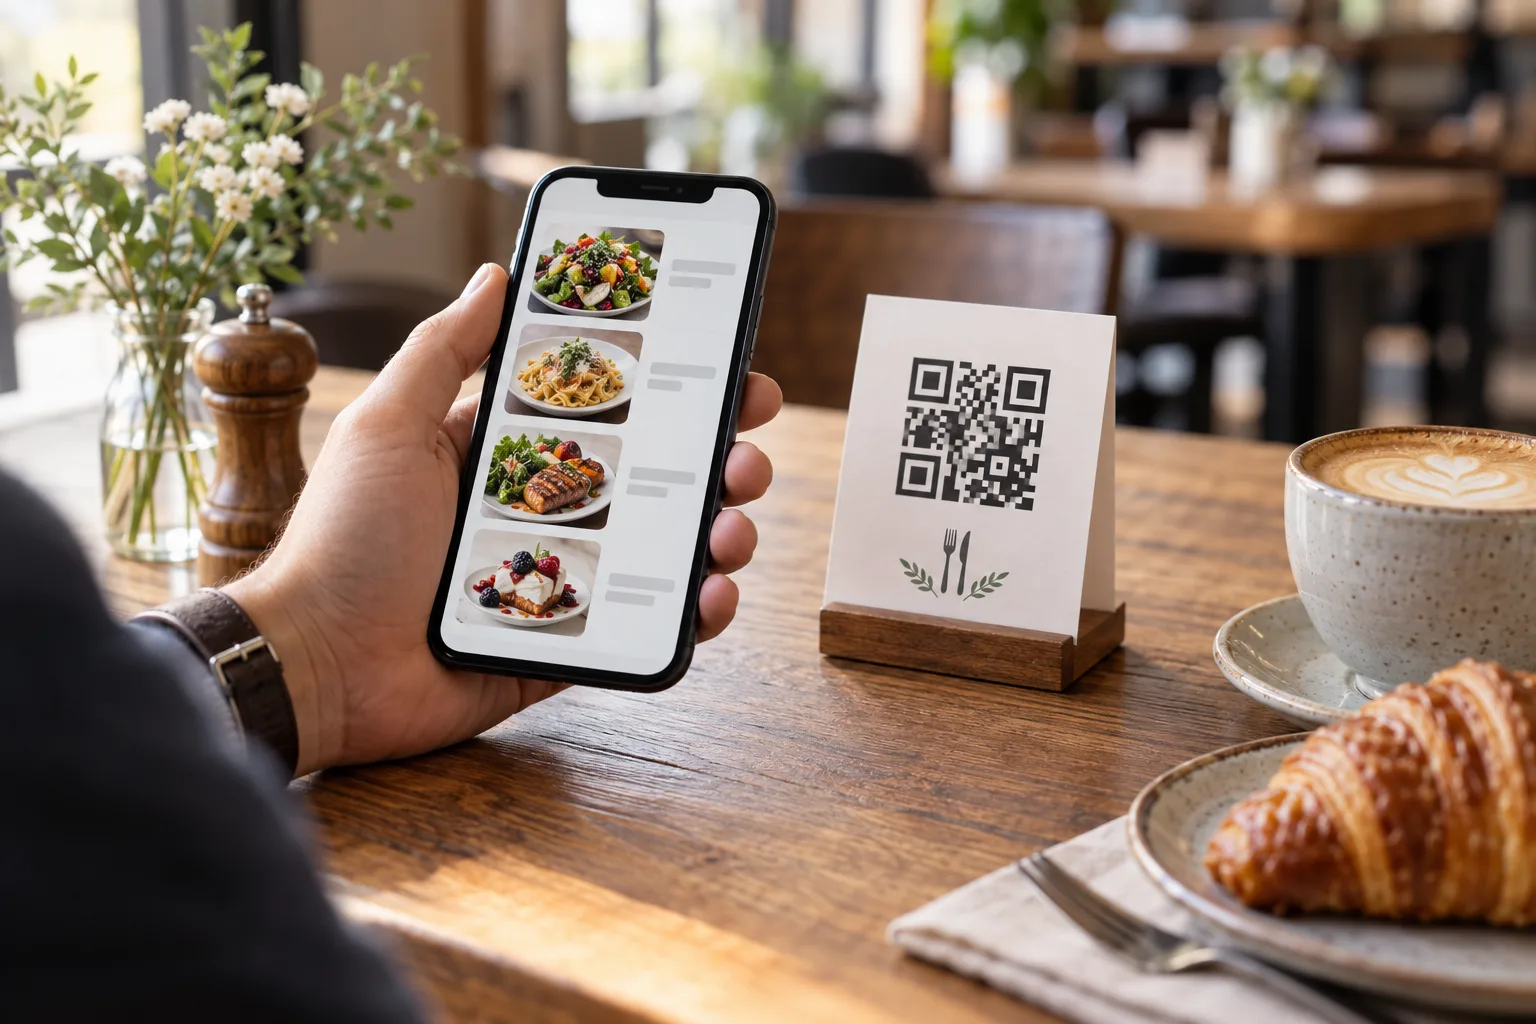
Open the QR code section for the restaurant and download the public-menu code. Keep the surrounding clear space and use strong contrast. Print one sample at its intended size, then scan it with another phone under your restaurant's lighting before printing the full batch. Add a short instruction such as “Scan to view our menu” and a readable menu URL for guests who cannot scan.
Use the public-menu code for viewing the menu. Table-specific ordering codes have a different purpose; check the table setup separately if you enable ordering. Ask someone who is not signed into your owner account to open the public menu and confirm the correct venue appears.
Keep the menu useful after launch
Review prices and availability when your dishes change. Keep the same public menu URL to continue using the printed QR. Follow the price-update checklist after each change. Free covers the core menu; optional Ad-Free removes public-menu ads while retaining attribution, and Pro adds hiding the “Powered by GetFreeMenu” text, higher limits and additional restaurant tools. See Free QR Menu for the product overview.
Frequently Asked Questions
Do guests need an account to read my menu?
No. Guests open the public menu in their browser from the menu link or QR code.
Should I print every QR code before checking the menu?
Test one printed sample and the public menu on a separate phone first. Check the restaurant name, currency and prices before printing more.