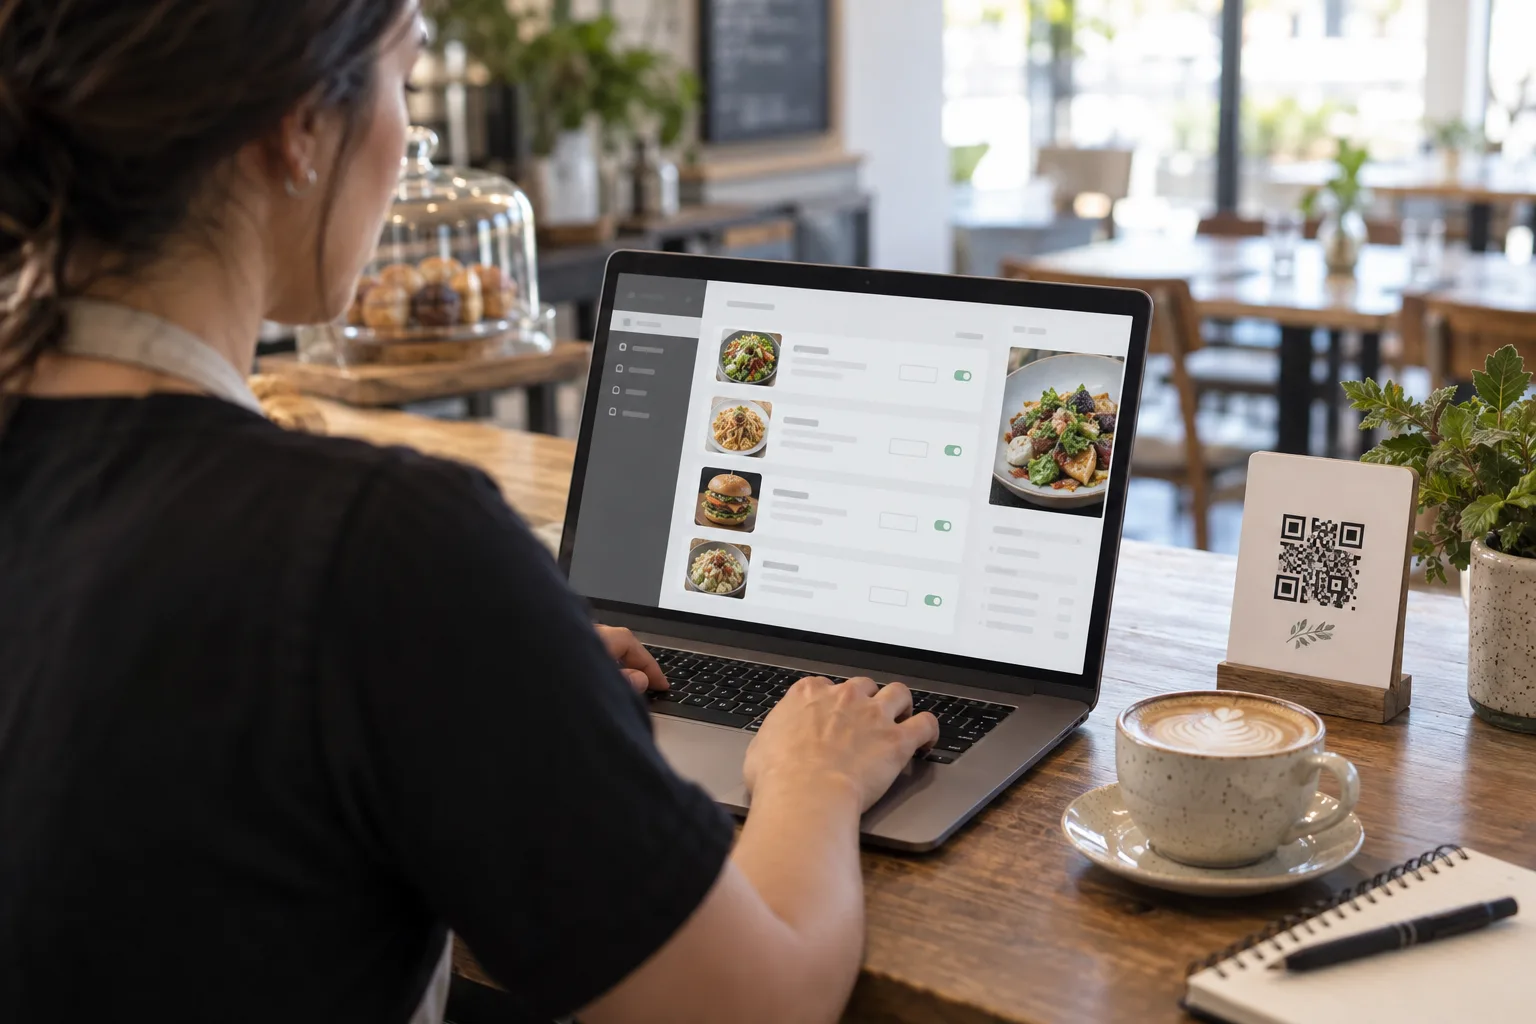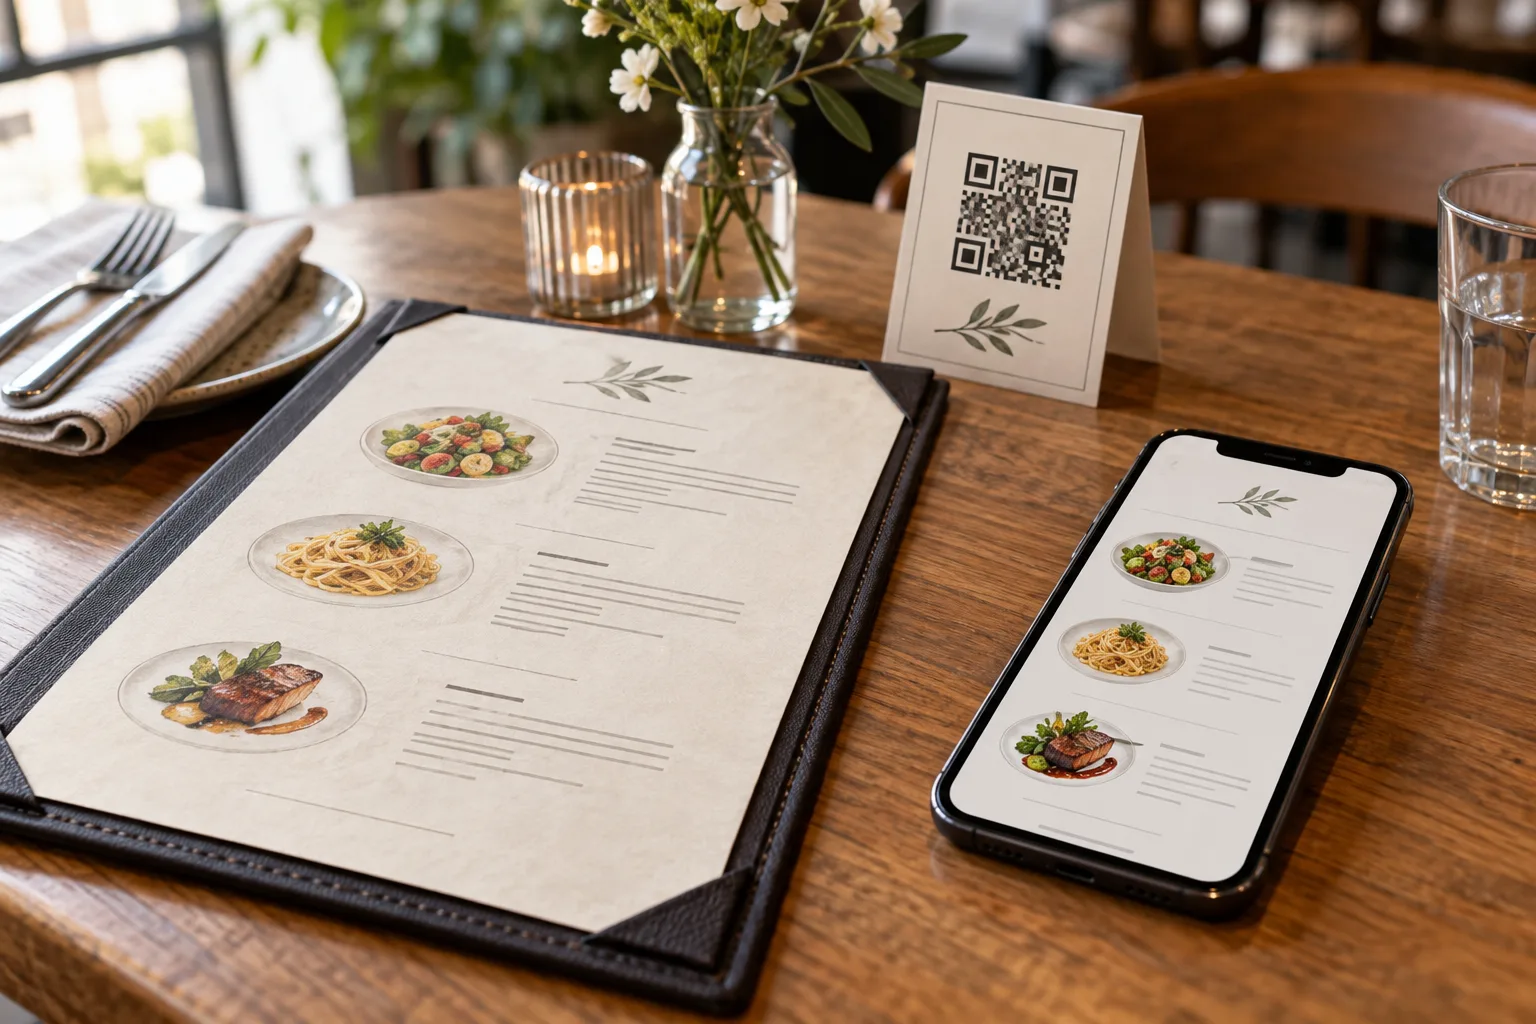
Moving a printed menu online is a chance to correct outdated prices and unclear descriptions. Treat the printed file as a starting document, not proof that every detail is still current. This checklist works whether you enter items manually or review an import offered in your dashboard.
Choose the current source
Use the most recent approved menu and ask the person responsible for prices to confirm it. Mark unavailable dishes and old promotions before you start. If several PDFs exist, identify one version to work from. A scan should be clear enough to distinguish decimal points, currency symbols and similar item names.
Prepare a simple item list
| Field | What to record | Example only |
|---|---|---|
| Category | Where the guest will look | Coffee |
| Name | Dish or drink as served | Iced latte |
| Description | Portion, preparation and ingredients | Espresso with milk over ice |
| Price | Current numeric price and currency | THB 75 |
| Availability | Whether you can serve it now | Available |
Do not put a whole printed page into one item description. Separate categories and individual dishes so the online menu remains editable. Keep a count of the items in each category; you can use it to check that nothing was missed.
Create the restaurant and transfer a first category
Register, complete account verification and create your restaurant with the correct currency. Enter one category first and add its items in the editor. If an import option is available for your account and source format, review its extracted result before accepting it. Check the dashboard's supported formats and current limits instead of assuming every PDF or image can be imported.
Manual entry remains a useful route for a small menu or a difficult scan. Neither OCR nor translation should be treated as an approval step: the restaurant needs to check the final prices and descriptions.
Review the details that scans often obscure
Compare the online items with the original one row at a time. Check decimal points, prices for different sizes, duplicate item names and the order of categories. Confirm that a set-meal price has not been attached to a single side dish. If the source uses footnotes, move the relevant explanation next to the item it describes.
Use your own dish photos when available. If you have only a paper menu, you can start with accurate text and add photos later. Review ingredient and dietary statements with staff who know the recipes; do not infer them from a dish name or image.
Add languages after checking the source
Correct the source text before translating it. Keep proper dish names where useful and add a plain explanation of what is served. Review the target language before publishing. The menu translation guide includes examples and a review checklist.
Preview, print one code and share
Compare the public-menu preview with your approved list and check it on a phone. Download the public-menu QR, print one sample, scan it from another device and confirm the venue, prices and language options. Once the test passes, place it on your tables and share the public link through your own channels.
Your old PDF QR keeps pointing at its original URL. Replace that print if it does not open the new menu. Future edits can use the same new code while its destination stays unchanged; see changing menu prices without a new QR. Start with the free core QR menu and check optional plans when you need higher limits or additional restaurant tools.